There a few things to think about to help your kids celebrate their RJFC playing milestones (e.g. 50, 100 games, etc.).
- Your Team Manager can help you with understanding when each milestone is due.
- It often helps if a number of players can group their milestone games together into a single celebration on the same day.
- The club also provides medals for players celebrating these milestones. Team Managers – please contact Catryn Tuckwell at least 2 weeks prior to a milestone game to arrange medals for presentation on the day.
Purchasing customised banners
If you like, there are a number of companies that can produce professional banners with a week or so notice.
Some teams have recently used “Sam the Banner Man” – contact Steve on 0424 344 306, ideally with about 2 weeks’ advance notice. Cash only and does need to be picked up from their place in St Albans. Indicative pricing is:
- 1 Person Banner – $100
- 2 Person Banner – $120
- 3 / 4 Person Banner $160
- 6 Person Banner $180 (depending on size)
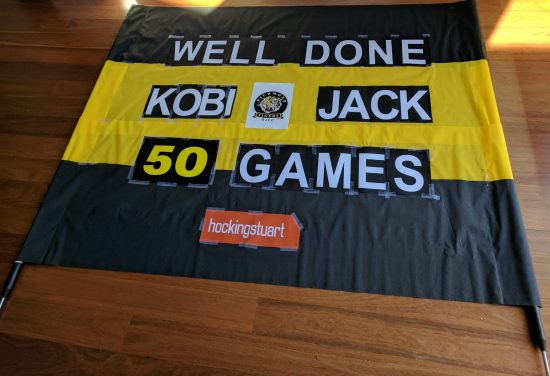
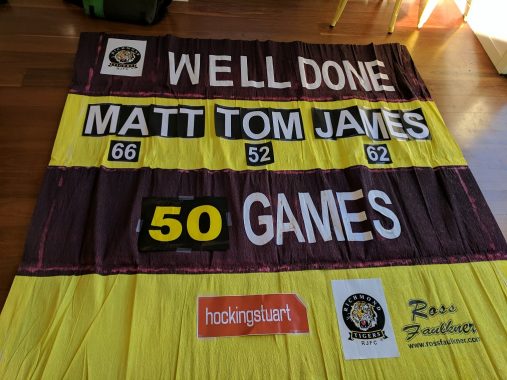
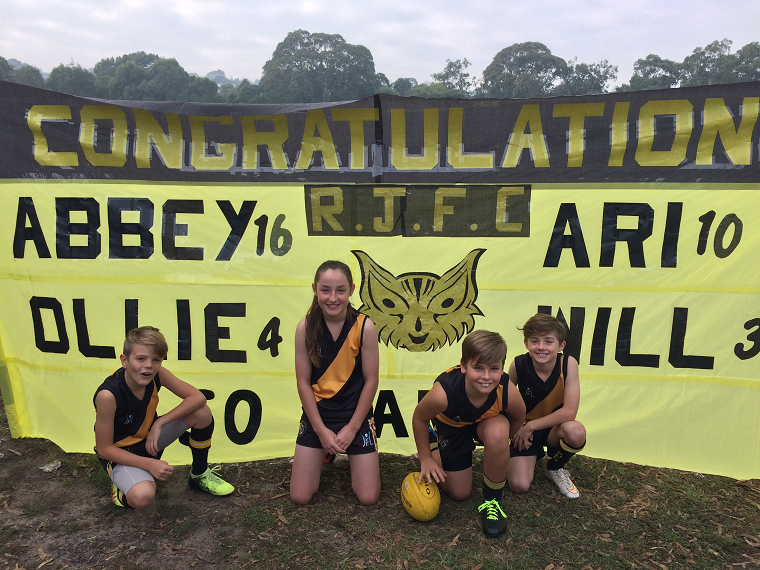
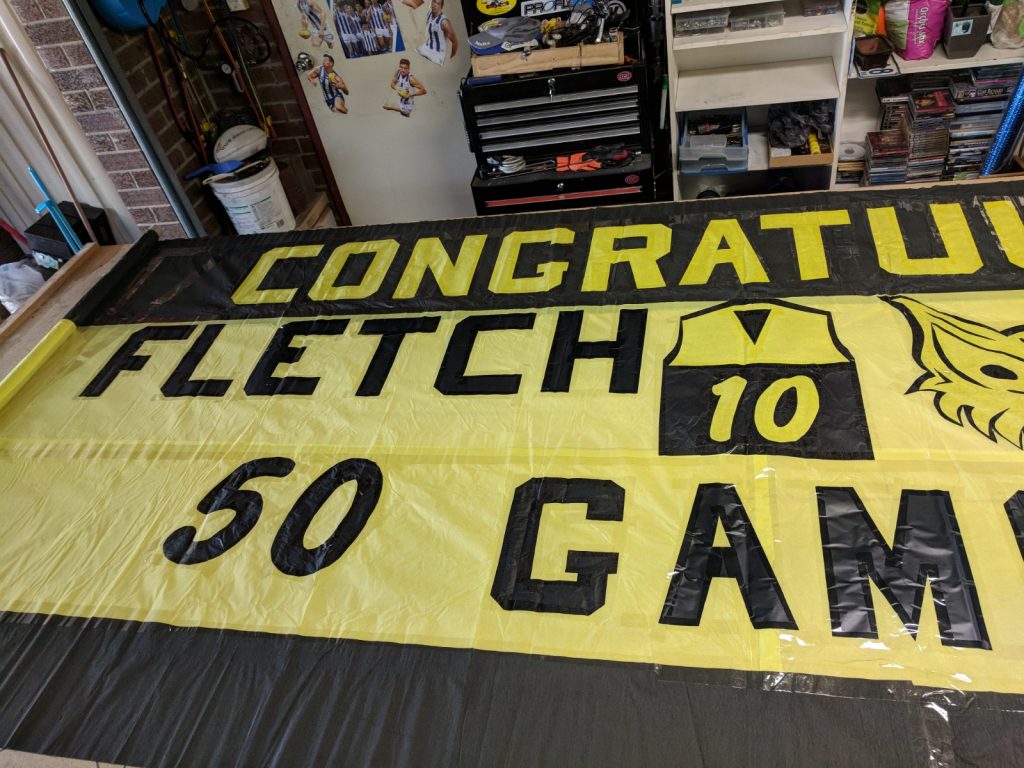
Recent examples:
Other options for customised banners are Homegrown Design and Milestone Banners.
Or if you’re keen, make your own as per instructions below.
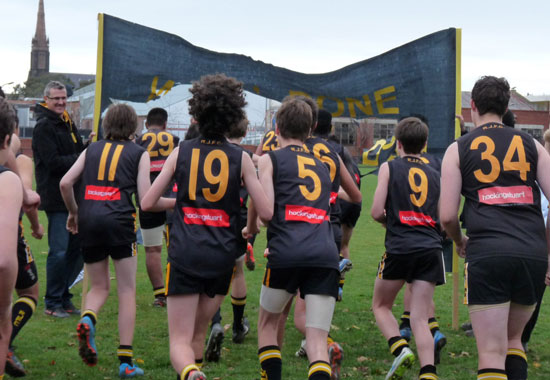
Instructions for making your own milestone “run-through” banners
There are a number of sets of poles and 50 and 100 game club logoed “banner tops” stored in the Citizens Park clubrooms – see Mick Young to sign them out. There is also a stock of Tigers logo stickers in the clubrooms that can be added to the banner.
You will need to provide:
- crepe or tissue paper in the yellow and black colours (normally around 2 metres, see instructions below)
- sticky tape
- white or black paper to use for letters and numbers – here are some templates that may be useful.
Instructions:
- Work out what message to use on your banner, and how many of each character you will need.
- Using the letter templates and black or white paper, print out the letters/numbers you will use on the banner.
- Cut out the letters and numbers.
- Lay out lengths of crepe/tissue paper that will be the background for the banner. There would normally be 3-4 lengths of paper to make the desired banner width, normally around 2 metres.
- These should be joined together with ~ 20 cm sections of sticky tape rather than a continuous length of tape so that players can break through it easily.
- Roll the ends of the banner around the poles and attach securely with tape.
- Arrange the letters/numbers on the banner and attach with sticky tape.
- Roll it up for transport. It’s a good idea to wrap it in plastic if it is likely to rain.
- At the ground, make sure you have at least one parent holding each pole securely as the players run through!
- Take a plastic bag along to clean up the mess afterwards
Some example banners as below – but be as creative as you like!